Integrate with External Tools
This page explains how to integrate Agentiqs with external tools.
You can integrate with a variety of tools, including Microsoft Office and GitHub, as well as other tools.
As representative examples, this page describes the following integration methods:
- Integrate with Applications and Web Services
- Configure MCP Servers Globally in the App
- Configure MCP Servers per Workspace
Integrate with Applications and Web Services
This section explains how to integrate Agentiqs with GitHub.
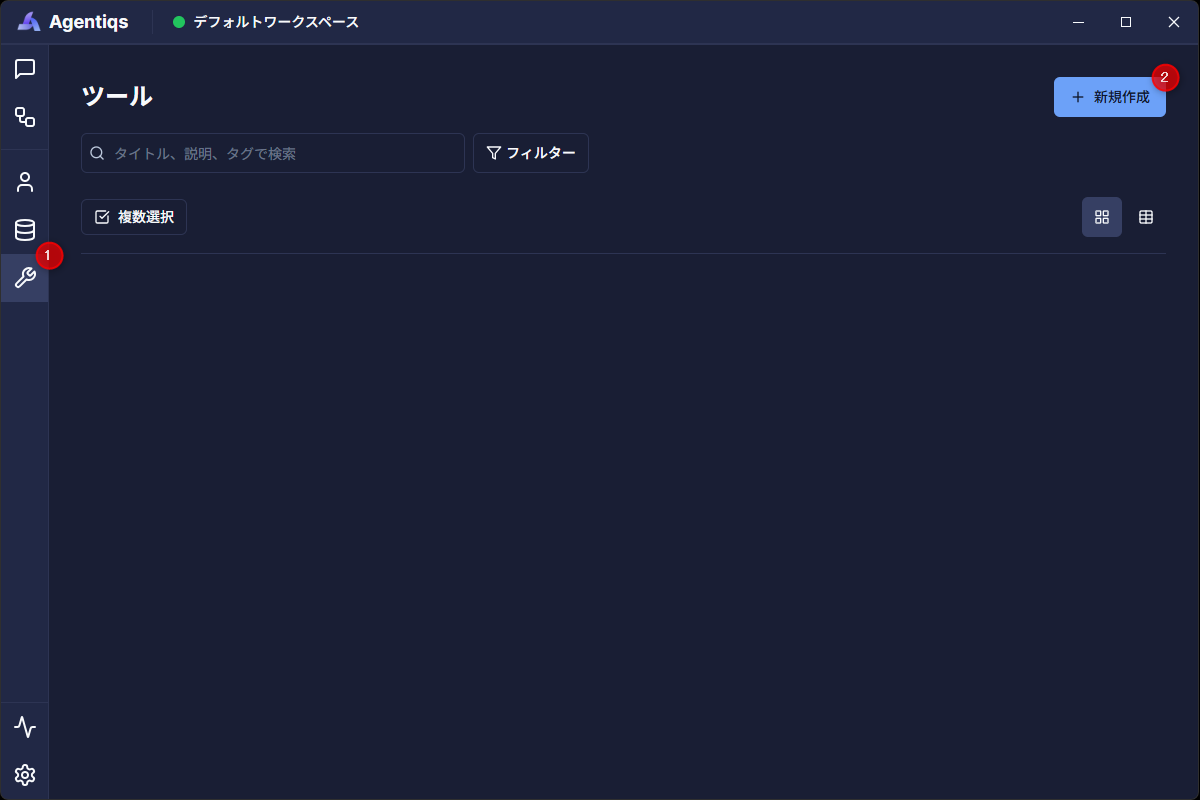
- Click [Tools] > [Create New].
- The [Tool Gallery] dialog appears.
- Select [GitHub] from the list.
- The GitHub settings screen appears.
- Enter a Personal Access Token in the [GitHub API Key] field.
- The credentials are saved, and you can connect to GitHub.
- Add the created tool to an AI agent.
- In chats that use that agent, you can view and update GitHub data.
- For the tools available in Agentiqs, see Tool List.
Configure MCP Servers
Configure per Workspace
MCP servers used only in a specific workspace are created as tools.
MCP servers themselves are not provided by Agentiqs, so users must create and manage them.
- You have created and are running an MCP server that supports the MCP specification.
- You know the information required to connect to the MCP server, such as the host name/port, connection method, and any required credentials.
- The MCP server is reachable from Agentiqs over the network.
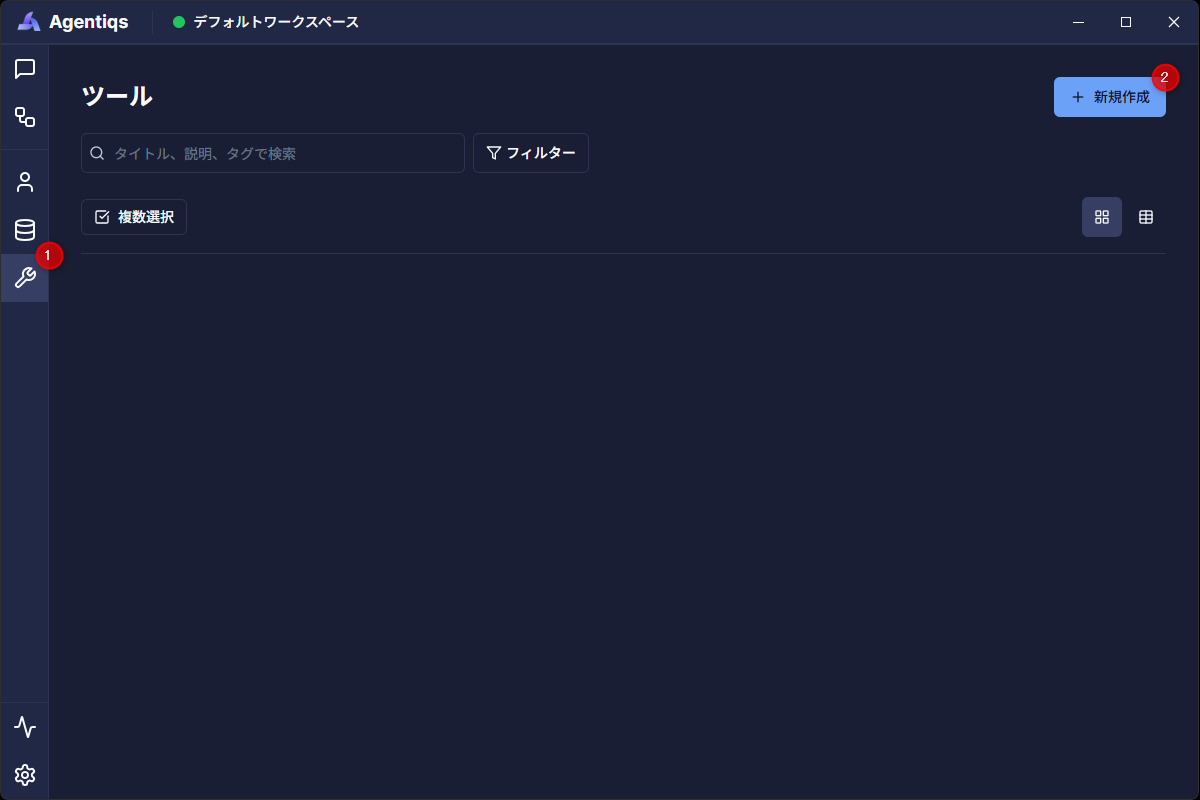
- Click [Tools] > [Create New].
- The [Tool Gallery] dialog appears.
- Select [MCP Tool] from the list.
- The MCP server settings screen appears.
- Refer to the configuration example below and enter [MCP Server Settings].
- Click [Save] to save the settings.
- Create and operate MCP servers at your own responsibility.
- Agentiqs does not guarantee the operation or availability of MCP servers.
Configuration Example
In Agentiqs, [MCP Server Settings] should contain not the entire MCP server configuration file, but only the configuration for a single server you want to use under mcpServers.
Example of the full configuration file:
{
  "mcpServers": {
    "exampleServer": {
      "command": "npx",
      "args": [
        "-y",
        "example-mcp-server"
      ]
    },
    "anotherServer": {
      "url": "http://localhost:9000/sse"
    }
  }
}
Example of what to enter:
When using exampleServer (mcpServers.exampleServer):
{
  "command": "npx",
  "args": [
    "-y",
    "example-mcp-server"
  ]
}
When using anotherServer (mcpServers.anotherServer):
{
  "url": "http://localhost:9000/sse"
}
Notes on Configuration
-
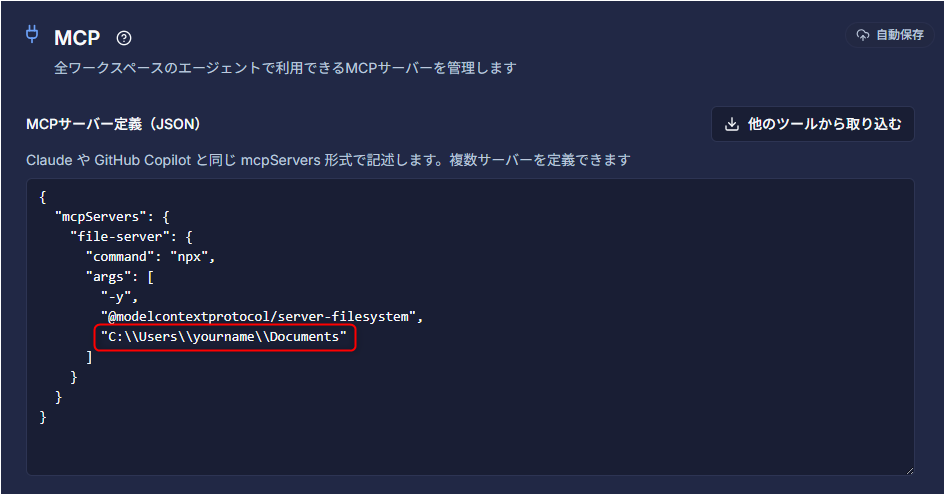
On Windows, specify paths using one of the following methods:
- Use
/. - Write
\\as a double backslash.
- Use
Configure MCP Servers Globally in the App
Use the app-wide MCP settings when you want to use the same MCP server across multiple workspaces.
There is no need to create the same connection information for each workspace.
- By writing JSON in
mcpServersformat, you can register multiple MCP servers at once.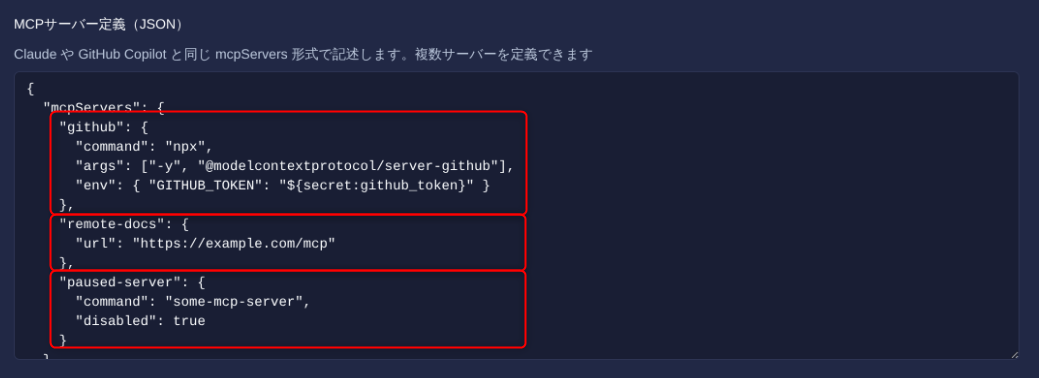
- If you already have MCP servers installed, you can import the settings.
- Import from [Settings] - [MCP] using one of the following methods.
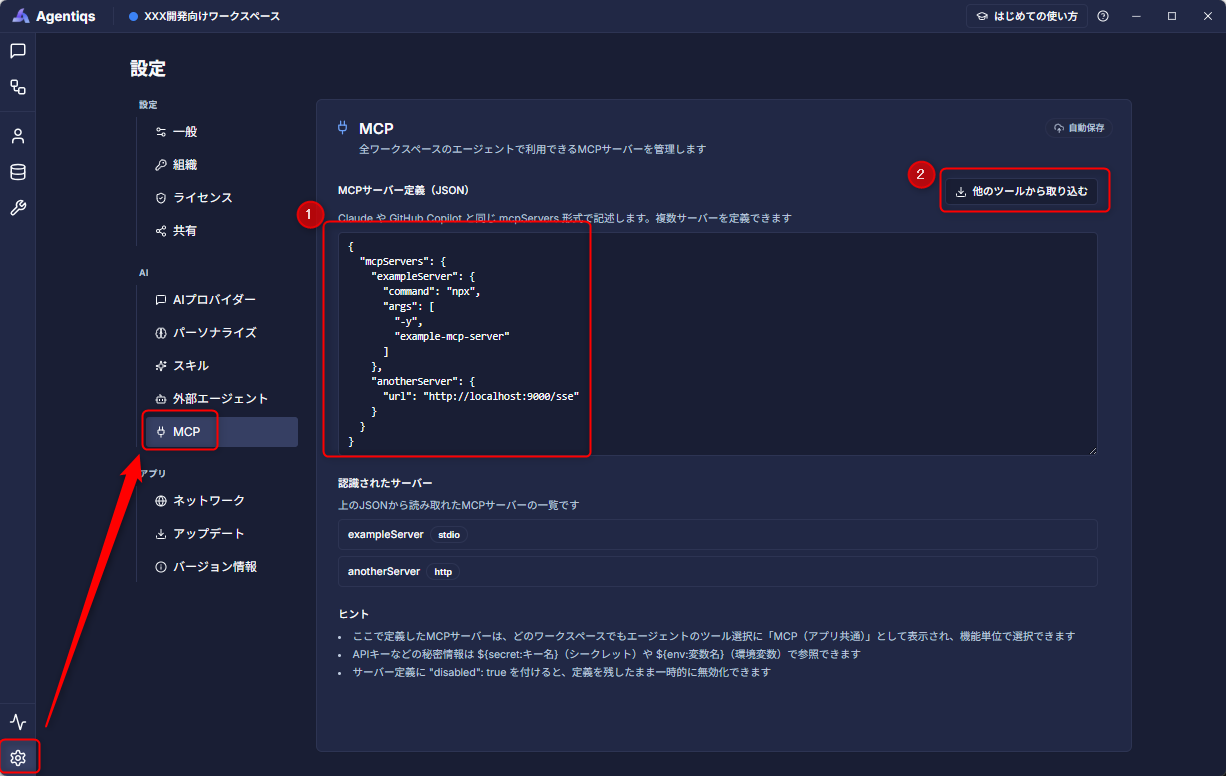
- 1: When importing a new tool, enter JSON in
mcpServersformat. - 2: When importing an existing tool, click [Import from Other Tools] and select the automatically detected tool.
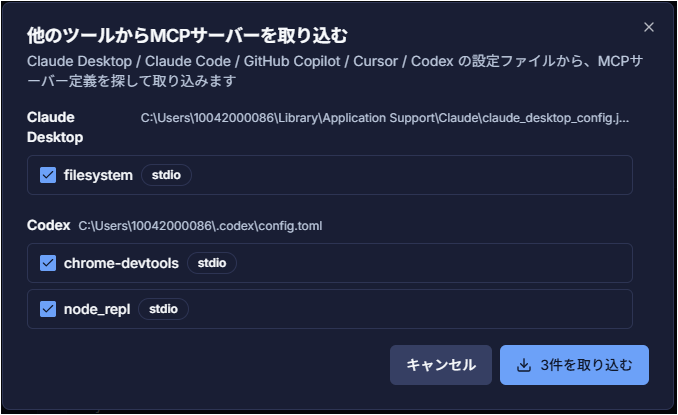
- 1: When importing a new tool, enter JSON in
- Open the target AI agent and click [Tools] > [Select Tools].
- From [MCP (App-wide)], select the MCP server you want to use and turn on the necessary features.
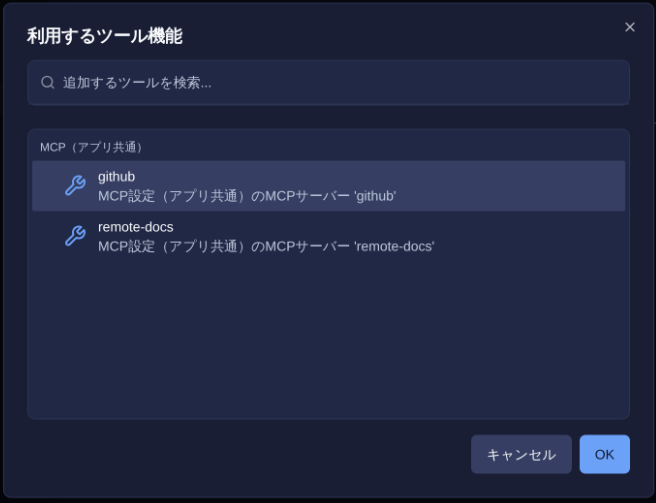
- If a tool with the same name exists in the workspace, the workspace tool takes precedence.
- In shared workspaces, only the MCP server name is shared. Each user must configure the connection information.